After the installation of the deep groove ball bearing in the main machine, there is a measurement index called cycle rotation accuracy. ...
After the installation of the deep groove ball bearing in the main machine, there is a measurement index called cycle rotation accuracy. This change approximately repeats the number of revolutions required to represent the "quasi-period" of the cycle rotation accuracy. The magnitude of the magnitude change within the quasi-period is large, that is, the cycle rotation accuracy is poor. When a proper preload is applied to the main shaft of the deep groove ball bearing, this can gradually increase the speed to close to the working speed, so as to implement the "running-in" function of the bearing and improve the circulating rotation accuracy of the main shaft.
There is a precision instrument to improve the precision of deep groove ball bearing. When 6202/P2 type bearing is used for the main shaft, but its accuracy still cannot meet the requirements, then the journal is thickened and a raceway is made on it to replace the inner ring, and the steel balls are accurately measured. Each group of steel balls is separated at an interval of nearly 120 ° with each size of three particles. Because of the reduction of one machining surface, one matching surface is reduced, and the rigidity of the shaft-bearing system is also improved, The close equidistant distribution of the larger three steel balls and the smaller three steel balls improves the rotation accuracy of the shaft, thus meeting the accuracy requirements of the instrument.

The comprehensive verification method for installation accuracy of deep groove ball bearing is introduced in detail. First, install the angular contact ball bearing into the main shaft of deep groove ball bearing. The verification of installation accuracy should go through the following four steps:
The first step is to measure the size of the shaft and bearing seat hole to determine the fitting accuracy of the bearing. The inner ring and shaft adopt interference fit, and the outer ring and bearing seat hole adopt clearance fit.
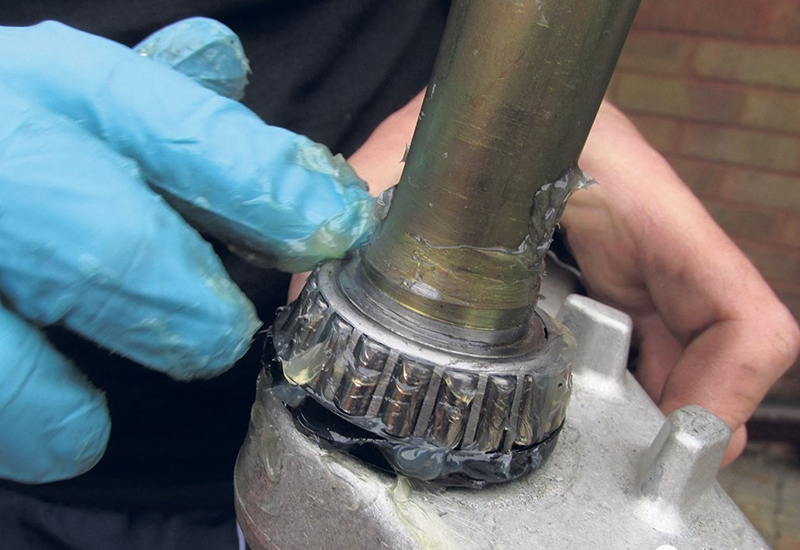
Secondly, the installation of the fixed end front bearing on the shaft: thoroughly clean the bearing with clean kerosene, and then fill the quantitative grease into the bearing with an oil gun; Heat the bearing to raise the temperature by 20~30 ℃, and install the bearing into the shaft end with an oil press; Press the set sleeve on the shaft and press the bearing end face with appropriate pressure to make it axially positioned; Coil the belt of the spring scale on the outer ring of the bearing, and check whether the specified preload has a significant change by measuring the starting torque.
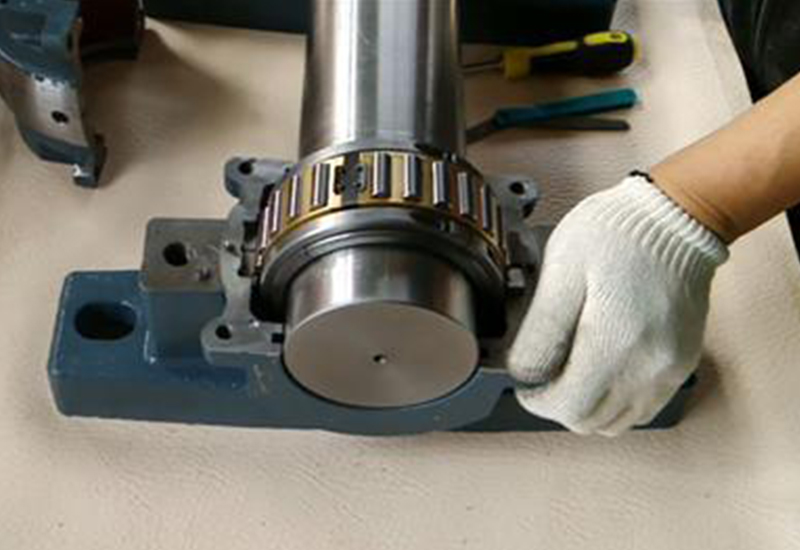
Thirdly, install the deep groove ball bearing-shaft assembly into the seat hole: heat the seat hole to raise the temperature by 20~30 ℃, and install the bearing-shaft assembly into the seat hole with continuous and gentle pressure; Adjust the front cover, take the outer end face of the bearing seat as the benchmark, and push the dial indicator's head against the surface of the journal, rotate the shaft to measure its runout, position the dial indicator on the shaft, and push the head against the inner surface of the rear seat hole, rotate the shaft to measure the coaxiality of the front and rear seat holes of the bearing seat.
After that, the free end bearing shall be selectively placed at the position that may offset the deviation, and installed at the rear support position of the bearing seat to offset the roundness deviation and coaxiality deviation as much as possible.
Measure the actual fitting accuracy of the deep groove ball bearing during installation. At this time, professional measuring methods and tools must be used to carry out the actual precision measurement of the mating surface dimensions of the inner hole and outer circle of the bearing, measure all the measurement items related to the inner diameter and outer diameter, and make a comprehensive analysis of the measured data. Based on this, the size of the bearing installation part of the shaft and seat hole is precisely matched.
The actual measurement of the corresponding size and geometry of the matched shaft and seat hole shall be carried out under the same temperature conditions as the measurement of the bearing. In order to ensure a high actual matching effect, the roughness of the surface of the shaft and seat hole matching with the bearing should be as small as possible. During the measurement, two groups of marks indicating the direction of large deviation should be made on the outer circle and inner hole of the bearing, as well as on the corresponding surface of the shaft and the seat hole, on both sides close to the assembly chamfer, so that during the actual assembly, the large deviation of the matching two sides can be aligned with the same direction, so that after the assembly, the deviation of both sides can be partially offset. When the deviation compensation is comprehensively considered, the rotation accuracy of the two supports is improved, and the coaxiality error of the seat hole between the two supports and the journal at both ends is partially eliminated.
组合体装入座孔;调整前盖,以轴承座外端面为基准,将千分表的表头抵触在轴颈表面上,将轴旋转测量其跳动,将千分表定位在轴上,表头抵触后座孔内表面,将轴旋转以测量轴承座前后座孔的同轴度。
较后,将自由端轴承选择性地放在可能抵消偏差的位置,安装到轴承座后支承位置,尽可能地抵消相互间的圆度偏差和同轴度偏差。
测量深沟球轴承安装时的实际配合精度。此时必须利用专业的测量方法和测量工具,对轴承的内孔和外圆的配合表面尺寸进行实际的精密测量,将有关内径和外径的测量项目全部予以测出,并且对测得数据作出全面分析。以此为据,精密配作轴与座孔的轴承安装部位的尺寸。
在实际测量所配作的轴与座孔的相应尺寸和几何形状时,应在与测量轴承时相同的温度条件下进行。为保证有较高的实际配合效果,轴和座孔与轴承相配的表面,其粗糙度应尽可能地小。在测量时应该在轴承的外圆和内孔上,以及轴和座孔的对应表面上,在靠近装配倒角的两侧,分别作出能示明较大偏差方向的两组标记,以便在实际装配时,使相配两方的较大偏差对准同一方位,这样在装配后,双方的偏差得以部分抵消。在对偏差的补偿综合考虑的时候,使两端支承各自的旋转精度有所提高,又使两支承间的座孔和两端轴颈的同轴度误差得到部分消除。

